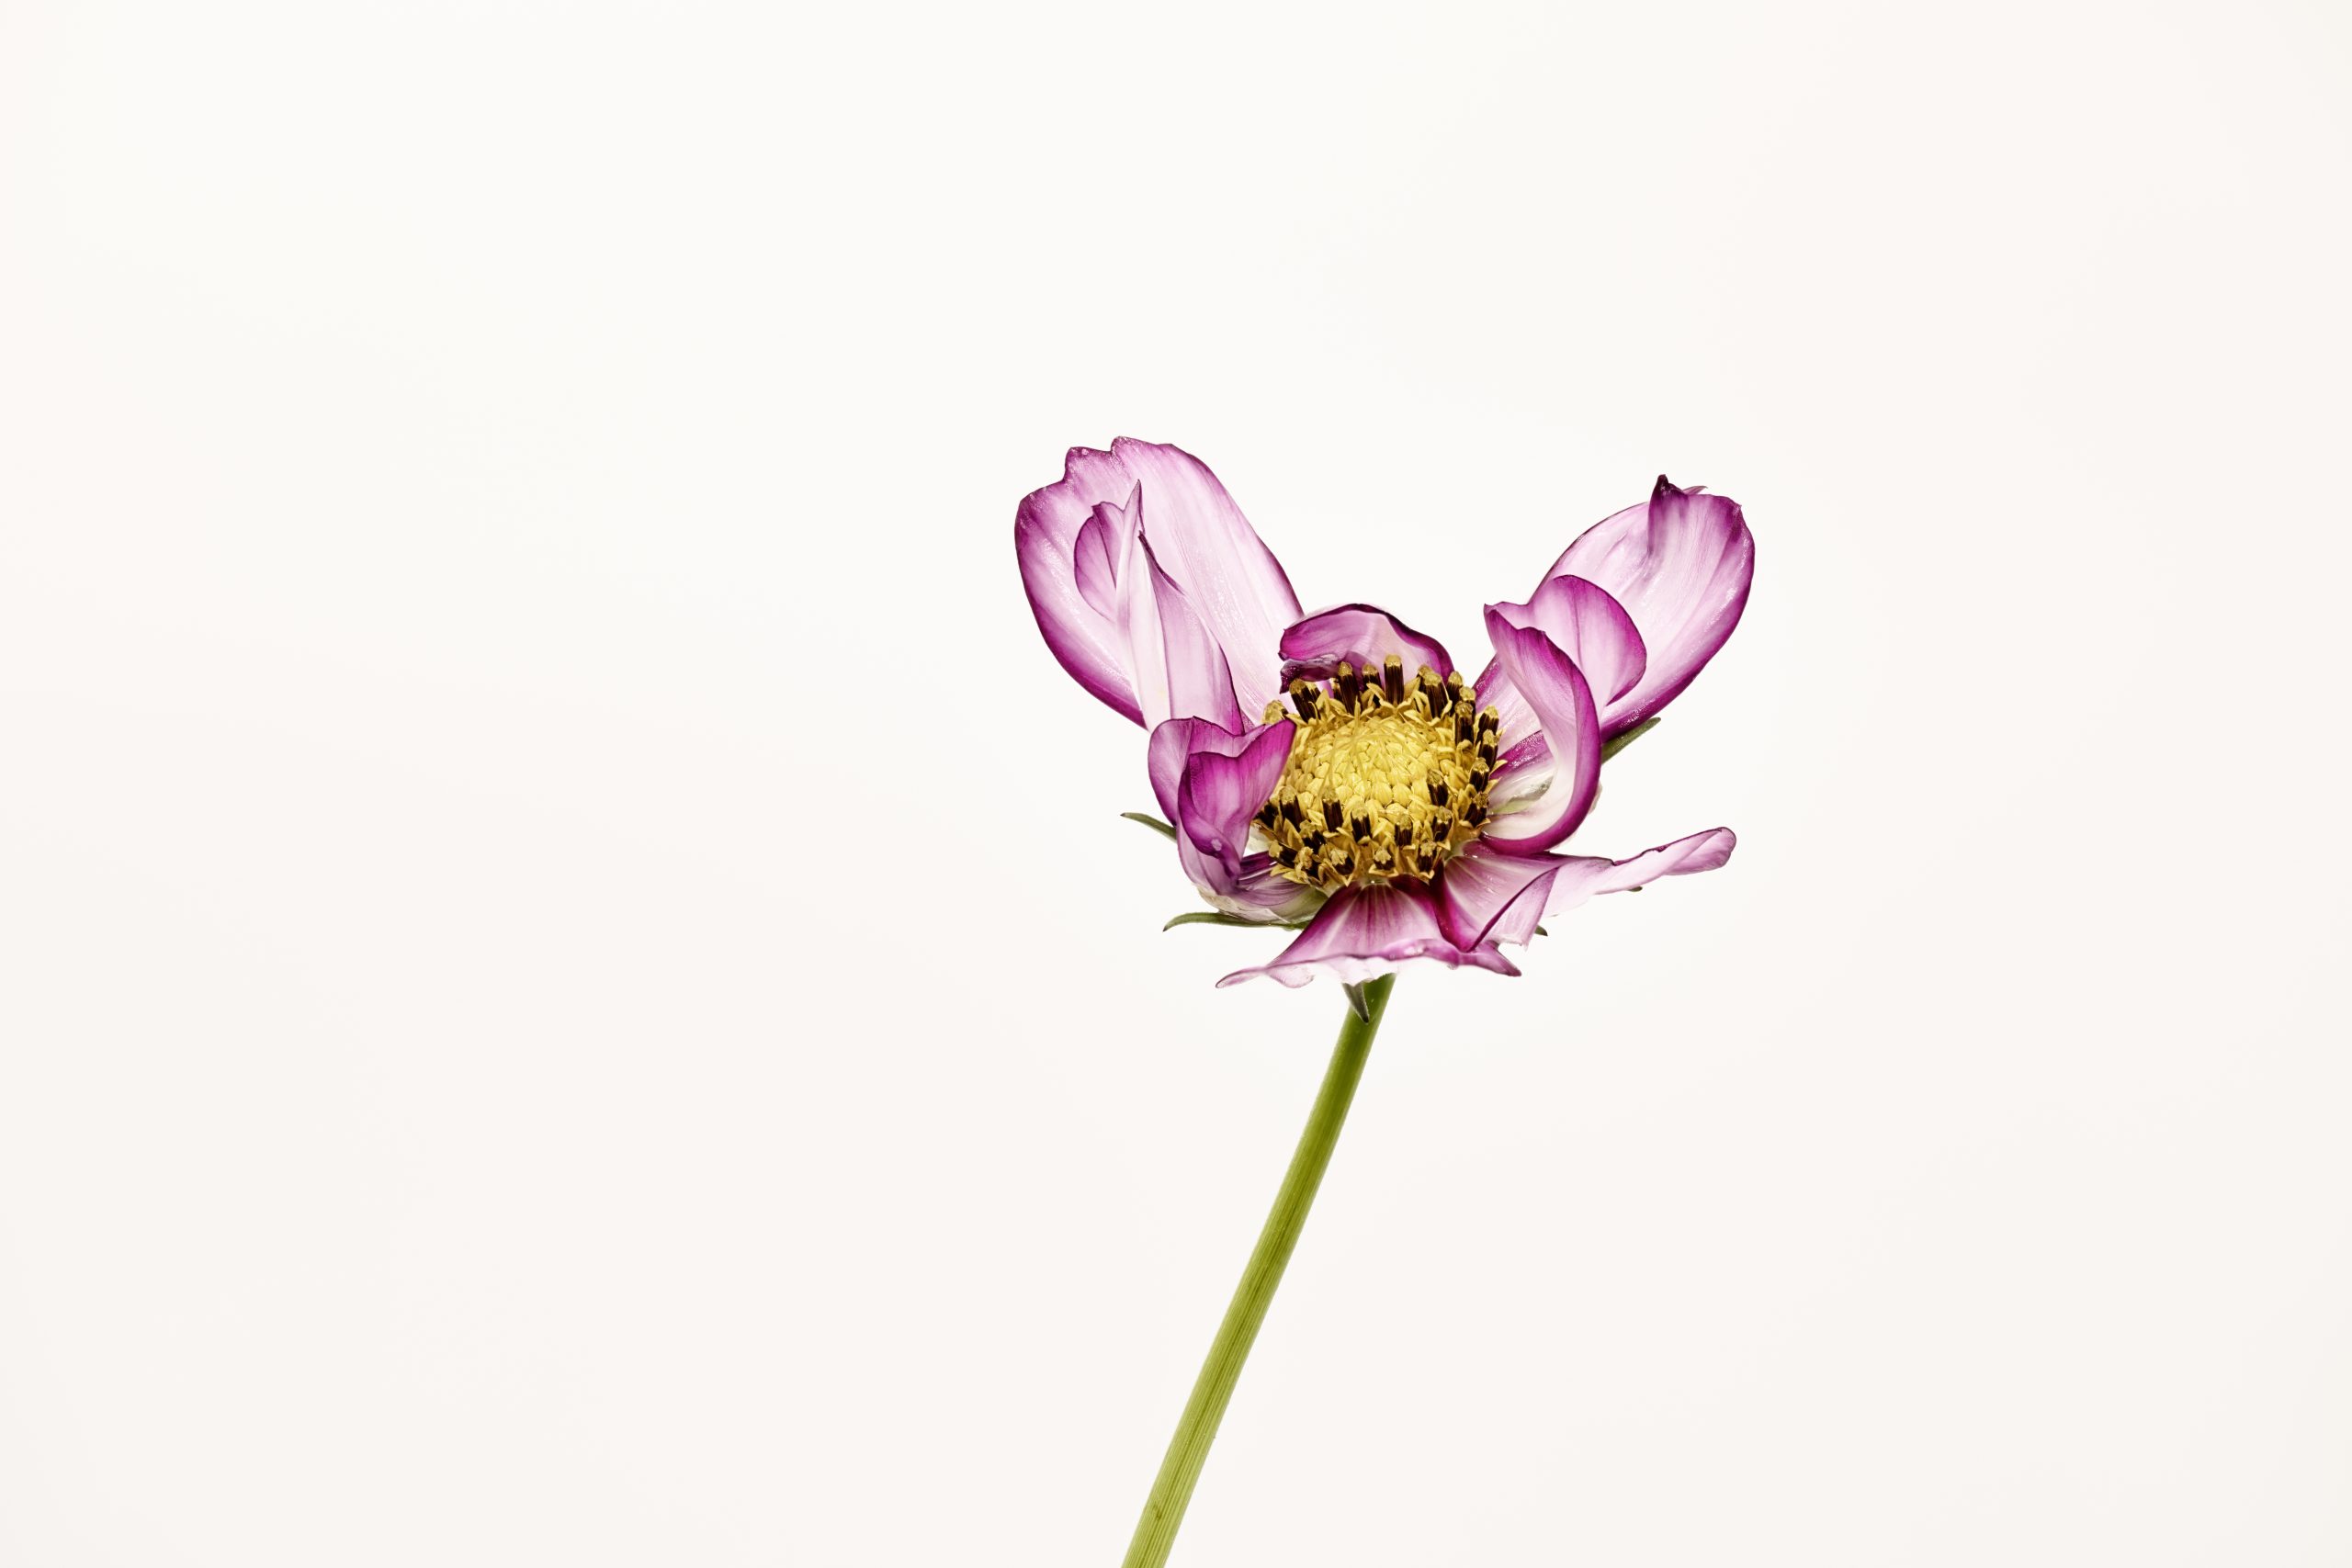
Are you a flower or creative photographer looking to capture the most beautiful images?
You’ll want to learn about the basics of post-processing. This process is essential for creating stunning shots that are unique to you. Whether you’re a beginner or a seasoned professional, post-processing can help take your photography to the next level. Let’s explore some of the key steps I use in post-processing my flower and creative photography.
Using Textures in Photoshop
Raw Processor:
The first step in my post-processing workflow is to adjust the raw processor settings. I like to check highlights and shadows, change colour temperature and check whites and blacks. This will give me an overall sense of how my photo looks before any adjustments are made.
The Crop:
Once I have adjusted my raw processor settings, I move onto cropping my image. With this step, I use overlay guides to determine what is the best crop for the composition of my image.
Getting rid of Noise:
Any grain or noise on your photo can be distracting from the finished product, so it’s important to get rid of it early on in your post-processing workflow. To do this, I use Topaz Denoise which helps remove any unwanted noise from my photos quickly and easily.
Reduce Distractions & Repairs:
Next up, I like to reduce distractions and make any necessary repairs on my images using elements such as cloning, healing brush and content aware tools in Photoshop. These tools help me create a clean canvas before making further adjustments on my photos.
Add Contrast:
To really bring out the details in your photos, adding contrast is essential! To do this, I use Nik Pro Contrast which give me the most beautiful contrast adjustments I have ever seen.
Choose Colour Temperature:
One of the most important steps in post-processing flower photography is choosing the right colour temperature for your photo! For this step, I like to use Nik White Neutralizer which helps me adjust colour temperature quickly and accurately while still maintaining natural tones throughout my photos.
Check Levels & Sharpen Selectively:
Lastly, once all other adjustments have been made, it’s time to check levels through photoshop adjustment layers before selectively sharpening with Photoshop tools such as Unsharp Mask or Smart Sharpeners Filter tool depending on what look you are going for with your images!
Post-processing flower and creative photography requires patience and practice but once you master these techniques it can really enhance your photos!
By following these basic steps outlined above you will be able to take stunning photographs that reflect your unique style! For those interested in learning more about advanced techniques for post processing flower photography be sure to check out our online workshops and digital products.
Free Tutorial
Check out our free post-processing tutorial with a helpful checklist for easy reference. Gain insights into how a few simple steps can create more eye-catching photographs.
Good luck with creating beautiful works of art!
Let’s get this creativity started!
Cheryl

